Many of you asked how to make a hot cold pack used in the period survival kit.
In the spirit of full disclosure, although I do own this sewing machine, I barely know how to sew. It’s one of those things I keep telling myself I’ll learn.
This means my packs aren’t necessarily very pretty, but they are functional. This, however, is one of the easiest things to make. Really.
We have multiple rice packs of different sizes. Certain sizes work better for necks, like these. Some for backs. Some for little people 🙂
And even square ones. These make great boo-boo packs or pocket hand warmers for the bus stop or playing in the snow.
They made great gifts last year for Christmas. Everyone got one with a set of instructions for heating.
This post contains affiliate links. I will earn a commission at no additional charge to you if you make a purchase using my links. Click here to see my full disclosure policy.
How to Make a Hot Cold Pack
Materials Needed
- 100% cotton material
- Rice or flax seed ( I like the smell of the flax seed better, but both work fine)
- A funnel
- Sewing machine, thread, scissors
A few notes about the material:
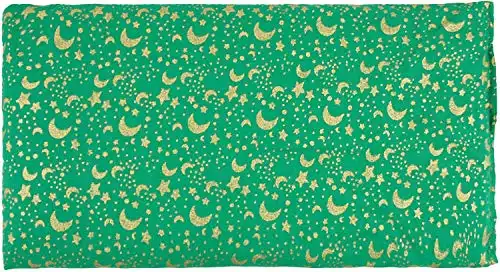
I personally like to buy fat squares. These are pre-cut pieces of material sized 18” x 22”. At Wal-mart, they have a great variety to choose from, including Waverly prints, and cost only about 99 ¢.
They are also 100% cotton, the best recommendation for microwave use. No fires, PLEASE.
This allows me to make multiple prints for different people according to their personalities.
Yes, you can buy ¼ yards, but I find the fat squares are the perfect size without any waste. Also super easy… * possibly read as lazy girl hack. 😉
Using the fat square I have made larger packs without any cutting, perfect for backs. Yet not too large for putting into the microwave.
I also have cut them in half, getting a hot cold pack about 5” x 17”. These work nicely to keep in the freezer without taking up too much room. Sized great for necks, as well as it’s a nice gift size. One fat square = 2 packs.
Step 1 – Prep your material
- Wash, dry and iron the material. Feels better, smells better and looks better. However, this lazy girl has skipped this.
Step 2 – Cutting your material
- Cut material to the length you want, and double the width. So, if you want a finished pack that is about 8” x 20”, do nothing to your fat square. For the smaller size, cut the fat square in half so your cut piece will be about 11” X 18”. If you were lazy and skipped Step 1, you will have a line down the middle to follow. Win.
Step 3 – Sewing Your Heat Pack
If you are great at hand sewing, awesome, but I don’t trust my skills on getting a straight or strong seam, so I use a machine.
This is the machine I have.
I have seen other tutorials, after I made mine, recommending reinforcing the seams using a zigzag stitch. It’s a good idea since these take a lot of abuse.
Step 4 – Fill Your Hot Cold Pack
- Turn your fabric right-side out. Using the funnel, fill about 2/3 with rice or flax. Any more and it will be too firm for comfort.
This is probably a better method than the one I used. I left the entire end open and closed it on the machine afterward. See below.
Step 5 – Close
See I told you how awesome I sew. LOL
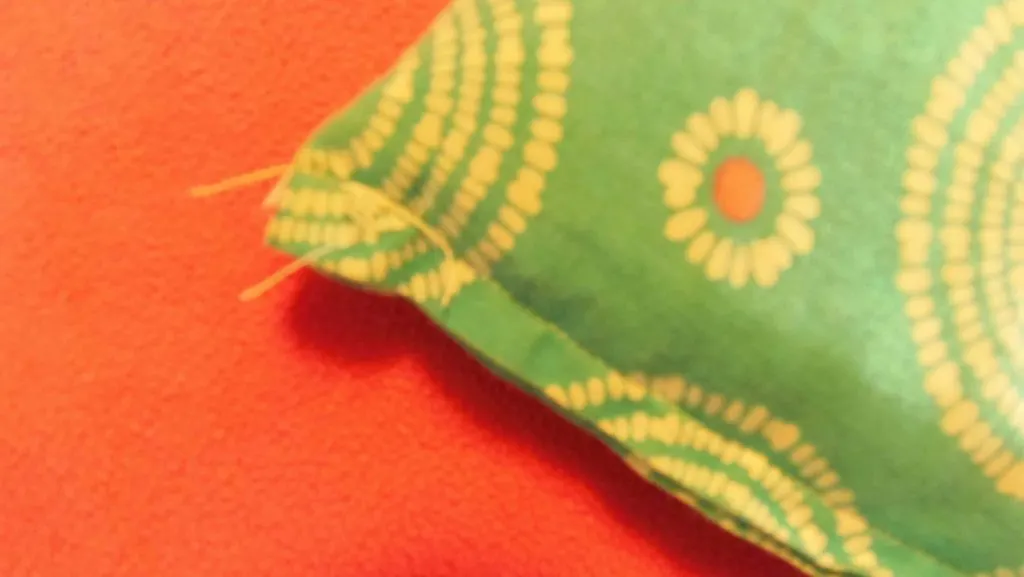
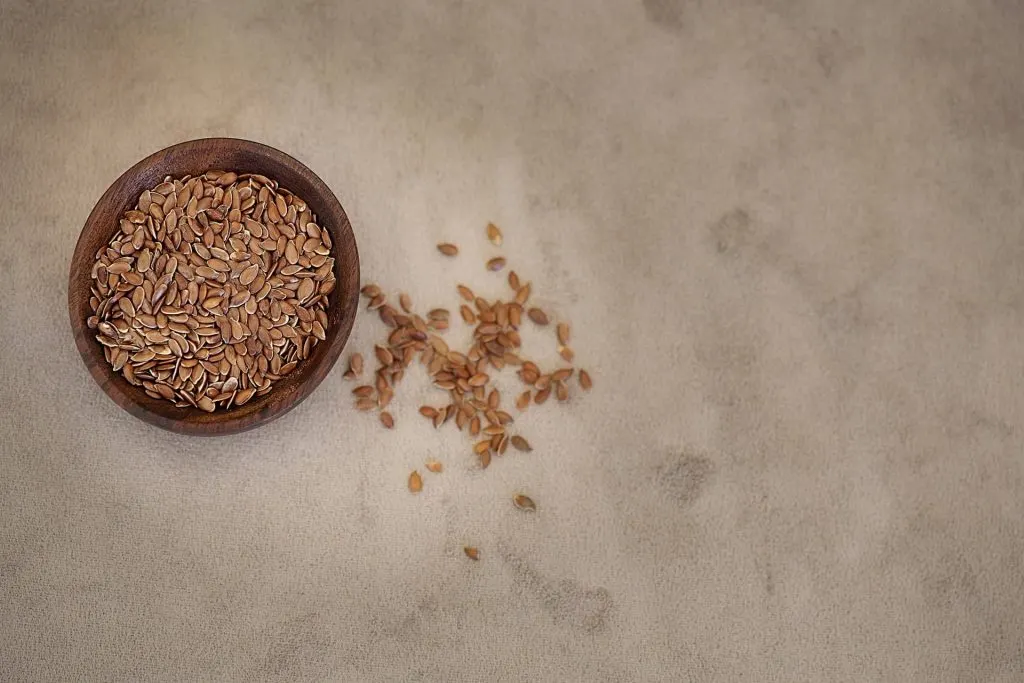
This is best done by hand. Getting it under the machine once filled is awkward. Stitch closed, reinforcing it well. Slow leaks of filler are pesky, especially the flax seeds since they look like bugs. I warn the people I give them to, just in case.
Here they look yummy, but in your bed at 2 am, it’s a bit different.
Hot or cold these are the best.
So awesome on a cold winter night when my husband is working nights or for cramps.
We keep some in the freezer and others for in the microwave. We found that 2 1/2 – 3 minutes for adults is good for the large one.
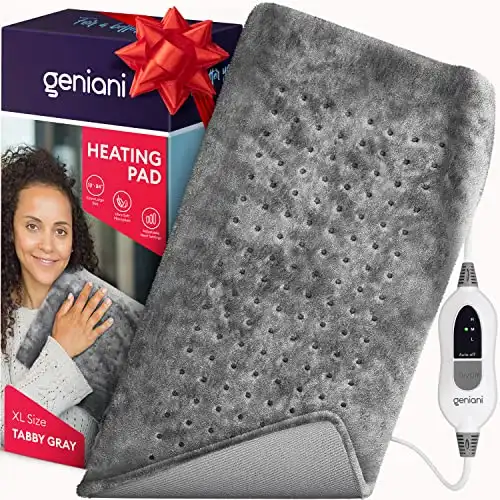
Want one…but it all seems like too much work? >> Try this one.
Do you have a hot/cold pack? What’s your favorite way to use it? Comment below.

Alice Zhang
Monday 8th of April 2019
What a great ideas from everyone!
But a couple of warnings. A doctor told me not to put anything very hot or cold on my eyes. Just lukewarm is fine.
For a sprain, use a cold one first, to prevent swelling. Later a warm one is good.
If want to reading more,Pls check follow link.
http://www.person-cares.com/blog-hot-cold-wrap.html
Hope this may help of everyone.
.......
Warmly Regards.
Alice Zhang ---Sales Representative.
PersonCare-----Your Promotional Solution Partner in China.
Concentrate On Daily Life, Professional on Personal Care and Promotional Gifts.
Cell Phone:008618656557302
Web:www.person-cares.com
Add:No.19,Huayuan Avenue,Baohe District,Hefei City,Anhui Province,China.
Laurie O'Rourke
Monday 8th of April 2019
Hi Alice, You're right, eyes are very sensitive and putting anything at all near them should only be with a doctor recommendation. Yes, cold first. Warm after. For injuries, I will typically alternate every 20 minutes. Depending on the reason for the pain, sometimes only cold is recommended. Thanks for commenting. :)
Michelle
Sunday 7th of October 2018
How much do you put inside a fat quarter square?
Laurie O'Rourke
Wednesday 10th of October 2018
Hi Michelle, I find that filling it about a third of the way works best. On a full-size fat quarter, it's about 4-5 cups. This will seem a bit floppy, but if you add too much it is very bulky which makes it difficult to get comfortable if you have it on your back when lying down or to wrap it around your neck. It also makes it easier to fit it into a small microwave. Hope this helps. Thanks for commenting. :)
Teri
Wednesday 8th of August 2018
100 % cotton fabrics are sprayed with pesticides so it is indeed a very good idea to prewash...
Laurie O'Rourke
Wednesday 8th of August 2018
Hi Teri, Wow I didn't know that...Yuck! Thanks for letting me know :)
How to Make Her an Amazing First Period Survival Kit - Pardon Me, My Crown Slipped
Saturday 12th of August 2017
[…] Read how to make one HERE. […]