
If you've got a house full of kids or just one, there's something every parent hears on the regular, especially during school vacations. "I'm bored" Usually, it comes in a drawn-out whiny tone, and usually starts with "Moooooooom"
Once upon a time, I was a parent with a house full of active, creative kids. I wanted to find something fun that would keep their attention.
I didn't know that the key to getting the answer was in the world of making slime. But I wanted to take it a step further and find out how to make slime without glue.
Happily, I realized I already had a box of cornstarch, a bottle of shampoo, and even some bright food coloring to add a bit of magic.
I am excited to share this quick guide about making slime without glue.
It's time to dive into a world of touch and smell and make memories that will last a lifetime. So, roll up your sleeves, gather your supplies, and let's dive into the sticky world of homemade slime together!


Ingredients for How to Make Slime Without Glue
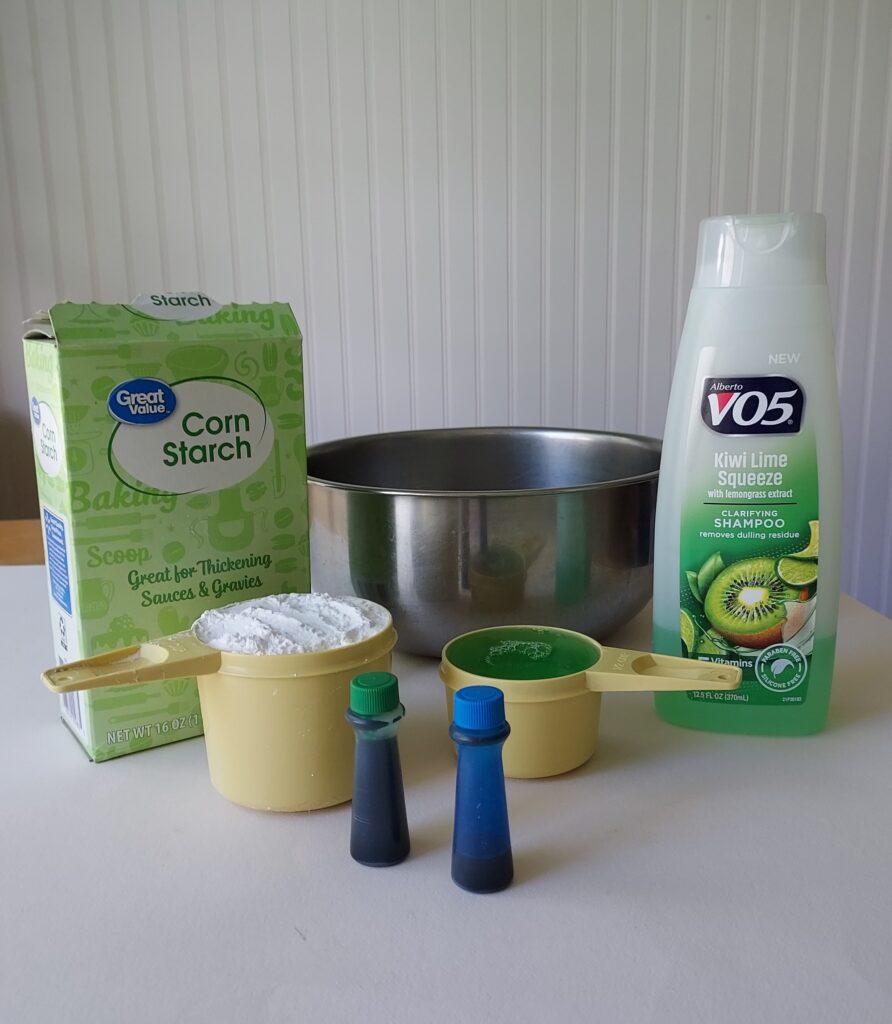
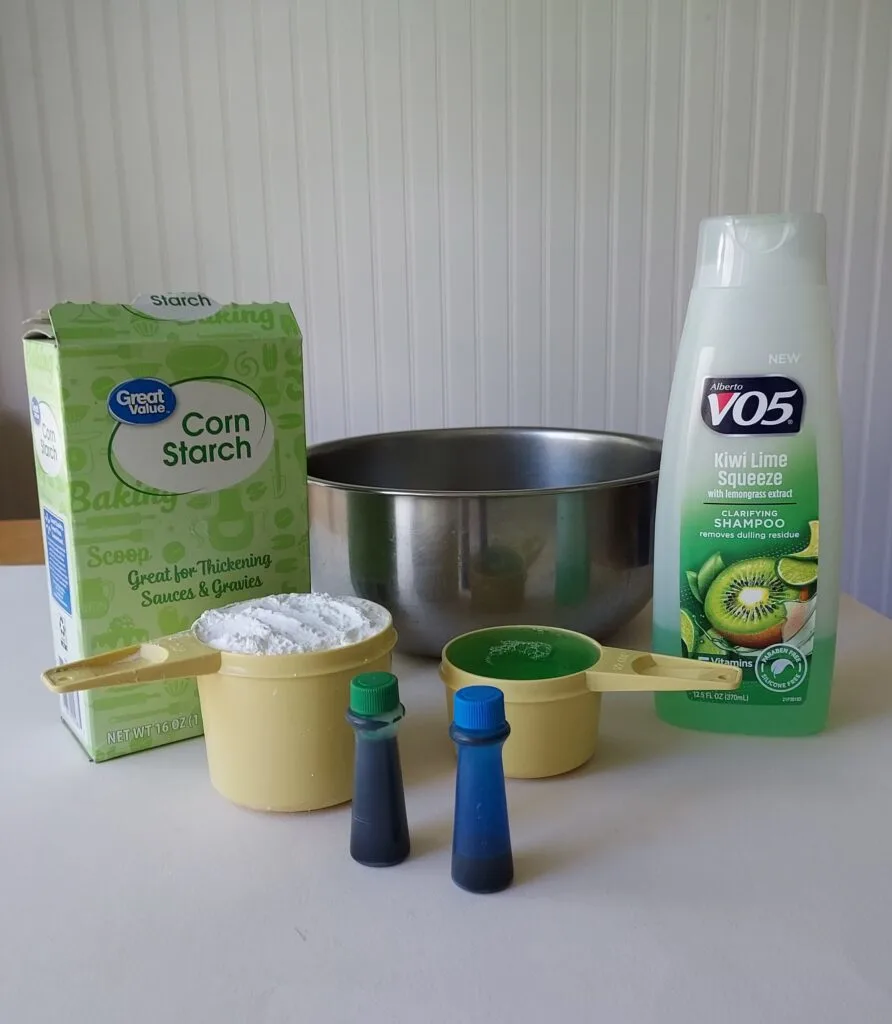
You will need a few common household things to make this amazing glue-free slime. What's best? They are probably already in your bathroom or pantry cupboard. What you'll need is as follows:
- Cornstarch: 1 cup
- Shampoo: ½ cup (clear or white works best)
- Food coloring: Optional (to add a splash of vibrant color)
- A trusty mixing bowl and spoon
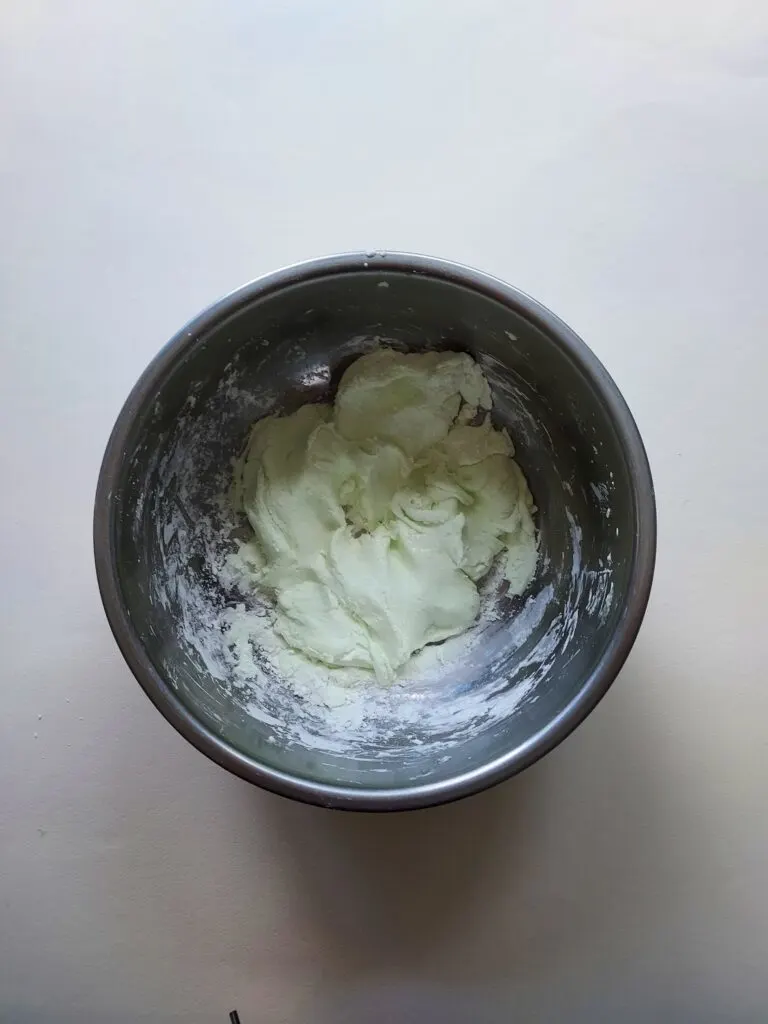
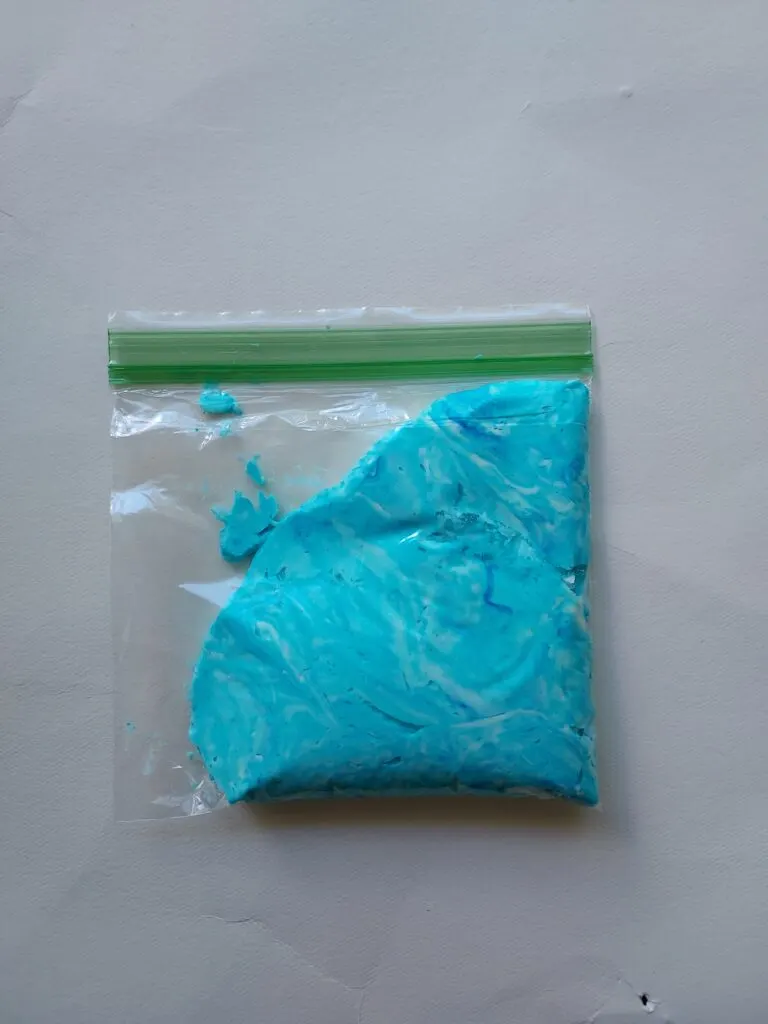
The day I made this to take pictures, I happened to only have green shampoo. As you can see before the food coloring was added, it was pretty light-colored, so doesn't affect whatever color you're looking to make. Bonus - when using shampoo, it smells amazing, so if you want scented slime, it's a perk.
But hold on, let's talk about clean-up before we begin our slimy adventure:
Making slime can be messy, as we all know. But don't worry, I've got you covered with some cleaning advice:
- Lay down a plastic tablecloth or old newspapers to catch any spills or drips. Trust me, it'll save you from a potential cleanup headache later.
- Keep a wet cloth or wipes nearby for quick and easy cleanup of any slimy residue.
- Remind your teens to wash their hands thoroughly after their slime escapades to ensure they're squeaky clean and slime-free.
Let's begin the slime-filled fun now that we have our materials for making slime without glue.
Step 1: Prep and Mix

All right, fellow slime fans! Grab your preferred mixing bowl—I use a metal bowl that has participated in several slime-making practices. Metal is perfect because nothing sticks and doesn't break if allowing kids to make their own slime.
Ensure the container is large enough to allow simple stirring without any unintentional spills (we've all done it, right?). Let's now explore the magic of making slime without glue!
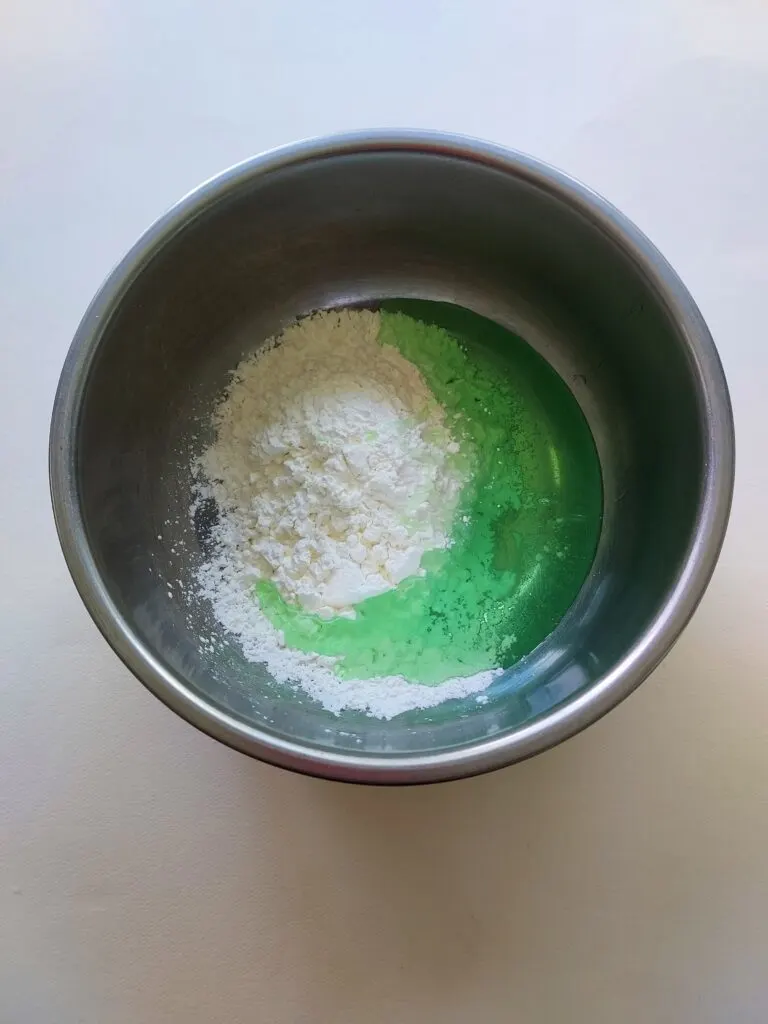
Cornstarch should first be added to the bowl. If you want to produce more slime than I typically do, please increase or decrease the amount of cornstarch. Next, it's time for shampoo! Half a cup of clear or white shampoo should be added for this preparation.
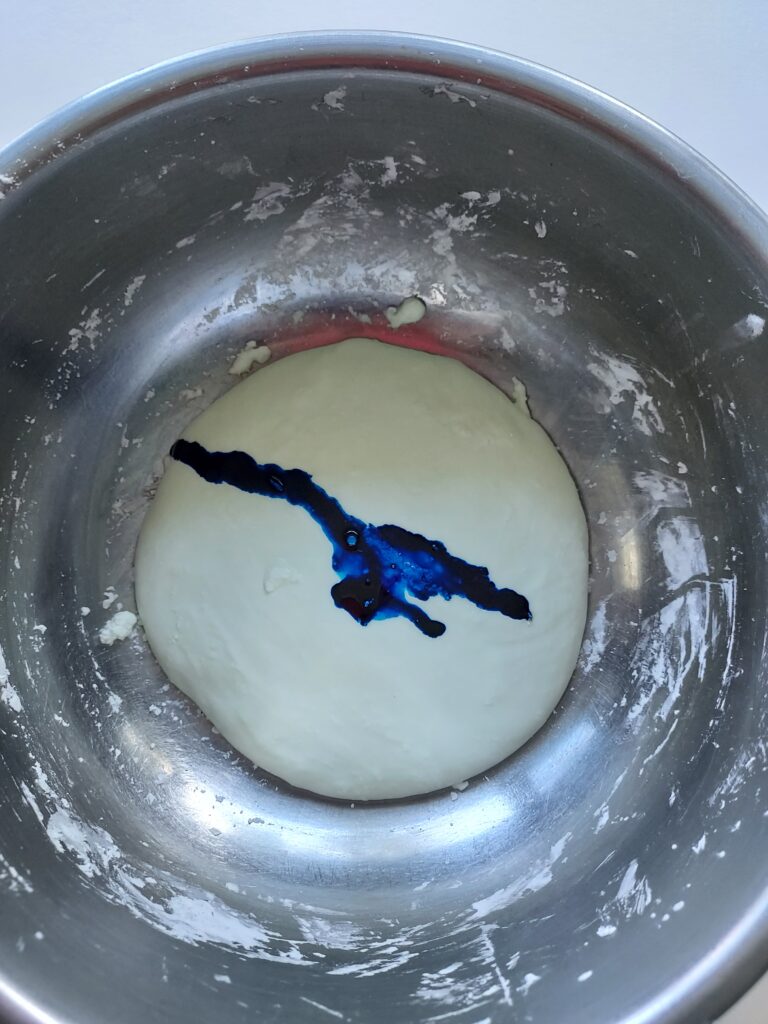
Now it gets exciting: this is the ideal time to add a splash of color to your slime! By combining a few drops of their preferred food coloring, let your tweens express their creativity.
The option is entirely up to them, whether it be a vivid blue, a lovely pink, or a fluorescent green. Allow the color to spark their creativity and give their slime-making adventure a little additional enthusiasm.
So there you have it, cornstarch, shampoo, and a splash of color in our bowl.
Step 2: Stir It Up

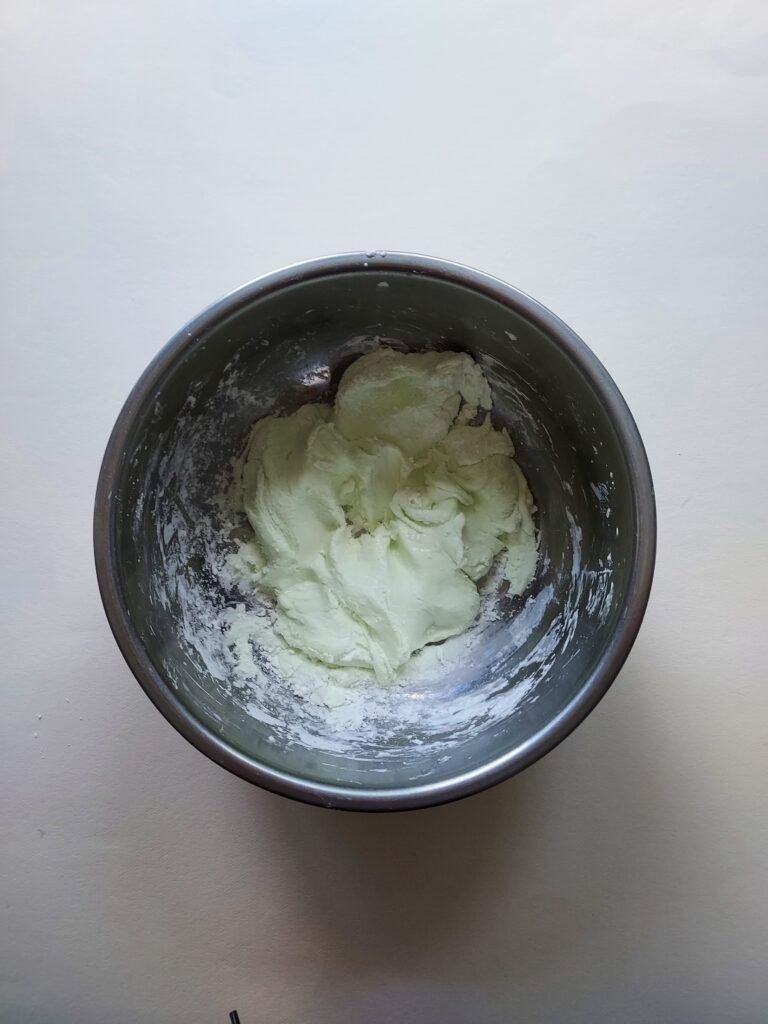
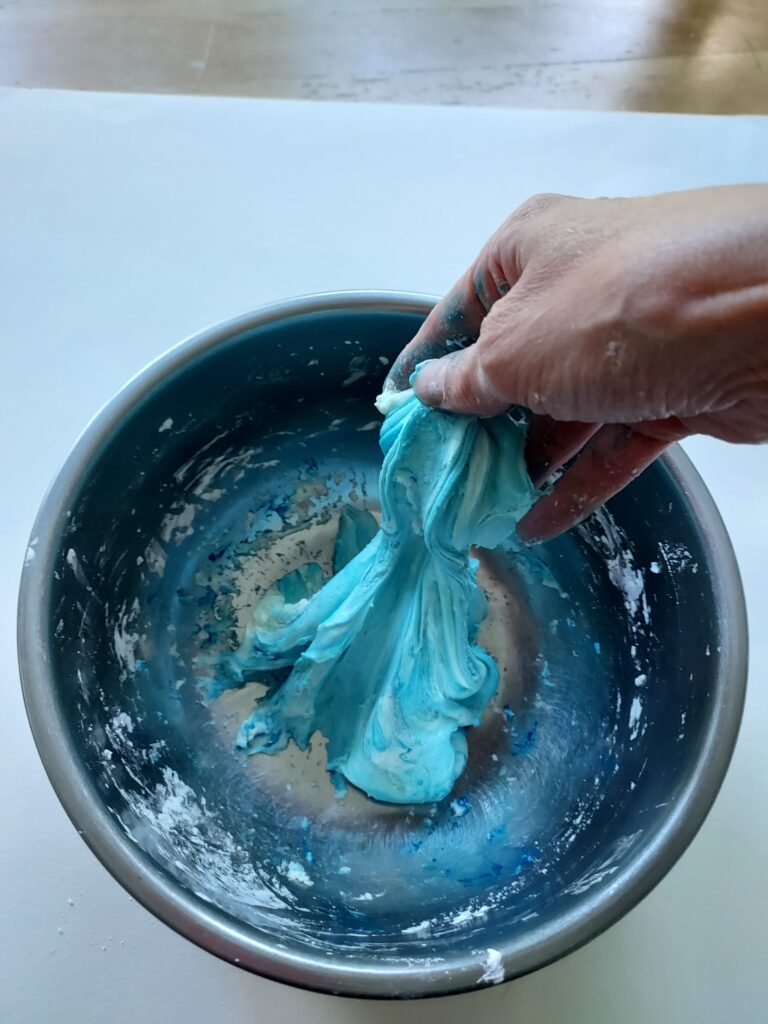
The magic starts right here! Use a spoon or, even better, your hands to start mixing immediately.
You'll see the texture change before your eyes as you begin swirling the mixture. The slime will gradually spring to life as the shampoo and cornstarch combine.
Stir the ingredients consistently until they are well combined. This step might call for patience, but the results will be well worth it!
Step 3: Adjusting Consistency

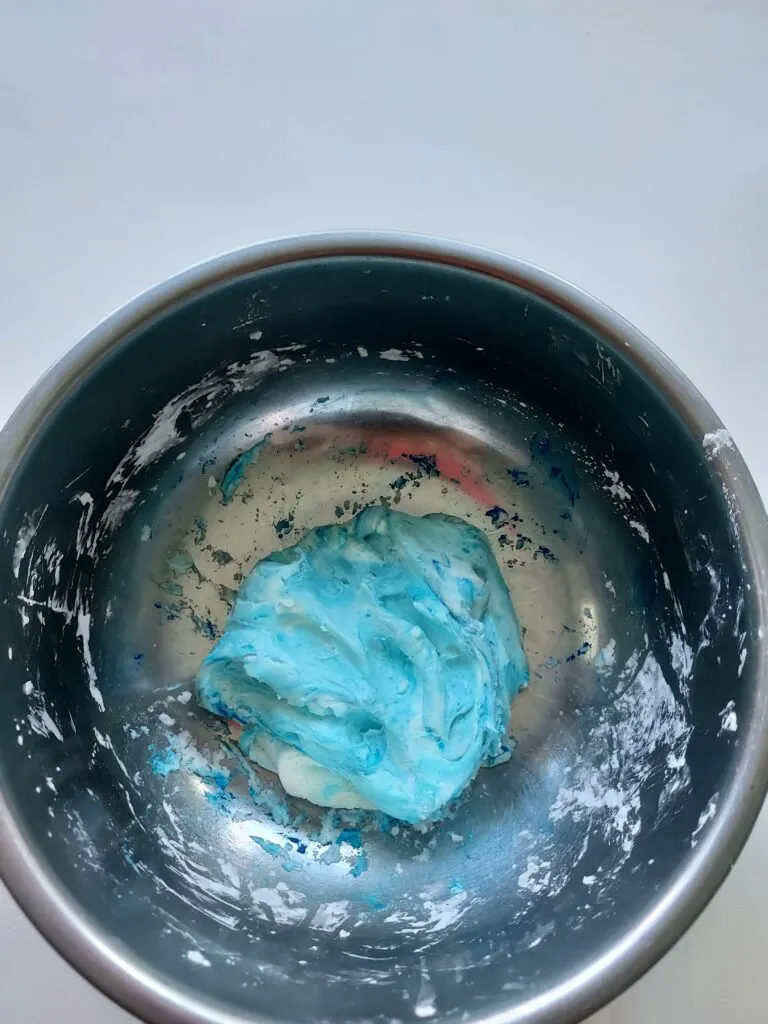
Let's now discuss consistency. Your kids are the experts in determining the ideal slime texture because it differs from person to person. Add more cornstarch if the mixture seems too runny. A small amount of shampoo will work if it's too thick.
Finding the ideal texture—a slimy one that stretches and molds without being overly sticky—is crucial. Encourage your kids to experiment with the amounts until they find the ideal balance.
Don't worry if you discover that your slime is overly sticky and sticks to anything it comes in contact with. Your slime may be made less sticky and more fun to play with by using a few simple techniques.
Bonus Tip! How to Make Slime Less Sticky?
Most times the slime needs more kneading. The more you knead, the less sticky it becomes.
If your slime continues to be too sticky, you may sprinkle it with more cornstarch. Apply a tiny quantity and work it into the slime's surface. The extra moisture will get absorbed by the cornstarch, making things less sticky. Repeat this procedure as necessary to get your slime to the appropriate non-sticky condition, but watch out not to add too much cornstarch, or the slime may become crumbly and dry.
Letting slime sit out for an hour or a few minutes in the fridge can sometimes help.
Step 4: Play!

Congratulations, fellow fans of slime! You managed to make slime without using even a single drop of glue. It's time to let your kid's imaginations run wild and their creativity flourish.
Stretch, squeeze, and shape the slime to your heart's content; the possibilities are endless. To enhance the sensory experience, they can blow bubbles, play with various textures, or even include small toys, beads, or glitter. (though, glitter does pose issues with following you forever, lol)
Be sure to keep your slime in an airtight container so it's ready to play with again next time.

Conclusion
Going glue-free when producing slime is a great substitute for parents who wish to keep specific materials out while still letting their kids enjoy the sensory paradise. You've discovered the key to making homemade slime that will occupy and amuse your kids for hours with only a few common household products.
Making slime never fails to amaze me in the fact that no matter the age kids love it. From young ones to teenagers they still enjoy making and playing with slime. This glue-free slime recipe is perfect for a sleepover, a rainy afternoon, or a birthday party activity.
It lasts for hours of enjoyment!
Happy slime-making!
In Case of Slime Mishaps
- How to Get Slime Out of Clothes: Tips for Removing Slime From Clothing
- Sticky Situation? Here’s How to Get Slime Out of Carpet—A Step-by-Step Guide
- How to Get Slime Out of Hair: A Step-by-Step Guide
RELATED READING:
- 89 Super Fun Teenage Girl Birthday Party Activities
- 125+ Best Girls Sleepover Ideas for Teens and Tweens
- 21 Easy Crafts for Tweens and Teens
- 9 Easy DIY Jewelry Crafts for Tweens and Teens
- 13 Easy DIY Beauty Crafts for Tweens and Teens

